October 14, 2013

Dip-Dye Skirt

Materials: Rit Dye in Black, $1.99

Time: 45 minutes


So while I had the black dye out after making the infinity scarf, I decided that it would be really cool to have a matching skirt to wear with it. The color the scarf turned out was perfect for fall, and I felt that I could sacrifice one of my summer skirts to make one that was more appropriate for post-labor day. So I decide to dye my white eyelet skirt which I acquired (guess where) at our last clothing swap. I simply held the skirt upright into the pot containing the black Rit Dye and let it absorb for a good 10 minutes. The I held the bottom dyed sections under running water for a long time, until the water began running clear. Then I submerged it into the sink filled with water, let it soak for 10 minutes, and emptied out the water. I repeated this 2 more times then threw the skirt in the wash with hot water. When I pulled it out it was the exact same color as my scarf with a degrade towards graphite at the bottom. I wore the combo skirt and scarf the very next day to the office. Love it!


Infinity Scarf


Materials: Rit Dye in Black, $1.99

Time: 45 minutes


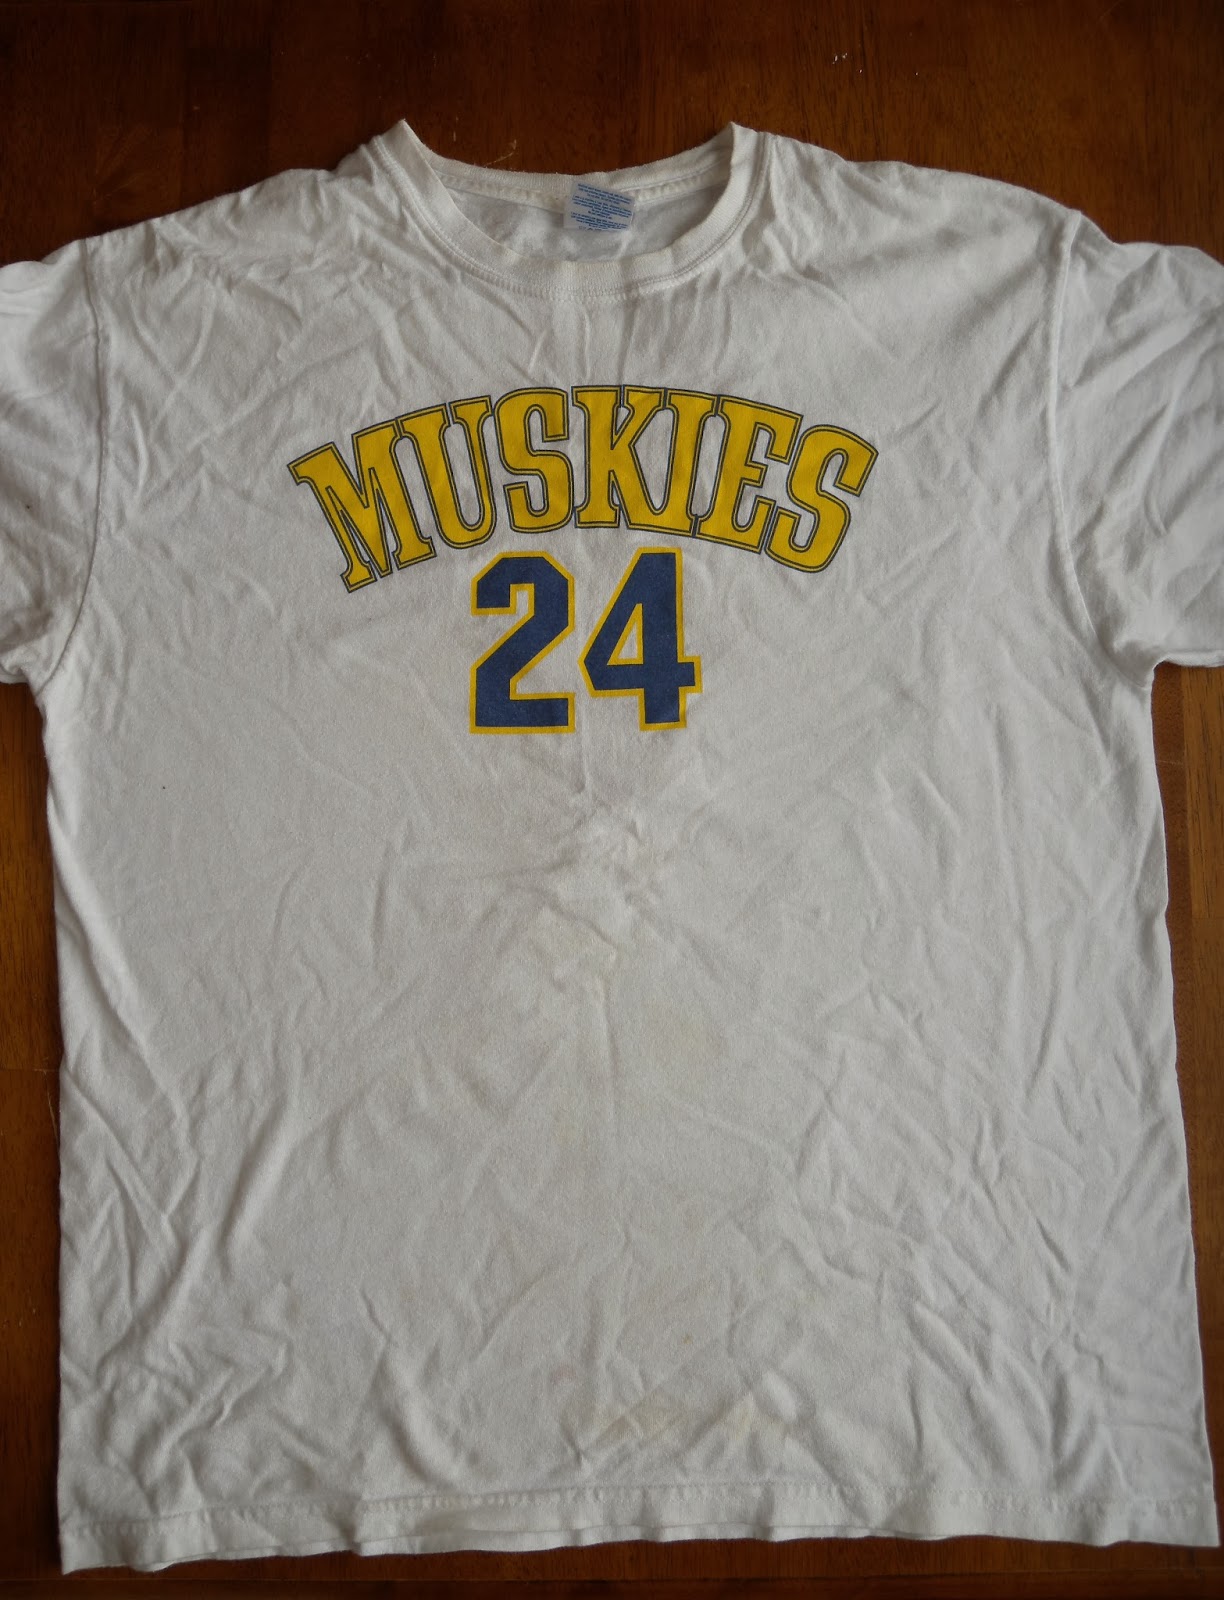
So guess who’s rack I hacked this weekend? Hubby’s! He decided to clean out his closet and I stopped him halfway out of the garage. In his “trash” bag, I found 4 perfectly recyclable T-shirts. Men’s T’s are great for infinity scarves. They are larger than women’s (hubby wears size XL); and amazingly, there are no seams! You can get 2 scarves per shirt, plus leftover material for rags for household use.


There are so many different things you can do with a plain white infinity scarf. I decided to dye it using the folding technique I invented for my jeans (see post here). All I did was fold the scarf back-and-forth, back-and-forth, the whole way through. It took a couple of times to get a width which was even throughout. Once I did that, I rolled the scarf and secured it with an elastic band.
 
 
To dye the scarf, I dissolved the dye in hot water in an old pot, following directions on the box (I have a specific pot which I use only for this purpose). I chose Rit Dye in Black, because I wanted a neutral scarf that would go with anything. I dipped the scarf half-way into the dye and let it absorb the dye halfway up. Then I removed the scarf and let it sit in the sink for a couple of minutes so the dye would really impregnate the fabric. In the meantime, I filled the other half of the sink with cold water, and when I felt that the fabric had been dyed for long enough, I submerged it in the water and removed the elastic. I then washed it 3 or 4 times, and threw it in the washing machine on hot. When I pulled it out, I was surprised by a lavender scarf with graphite-colored stripes! It had turned out better than I had expected!


October 12, 2013

Dress Up!

Materials: Elastic, $2.79
Time: 30 minutes
 This dress was another one of my original refashions, so I again I have to apologize for not having any before pictures. But it was so easy to do, before pictures are not necessary. I acquired this skirt at a clothing swap I hosted back in 2008. It was obviously many sizes larger than mine, but I instantly envisioned it as a cute summer dress, so I quickly snagged it! To transform it into a dress, all I did was sew a piece of left-over ribbon on the inside to create a strip to secure the elastic band, leaving a small opening to insert the elastic. Then I inserted the elastic and hand-stitched the two ends together. Lastly, I hand-stitched the opening in the ribbon closed. I absolutely adore this dress, and recently bought this really cute stretchy belt with a leather flower to wear with it. The only unfortunate part is that summer flew by so quickly, I’ll have to wait a whole year to wear it again!

Leg Warmers/Boot Socks


Materials: Elastic, $2.79
Time: 30 minutes
 
This was an original refashion I did 3 years ago or so, so I apologize for not having a before picture. This was a very nice cotton-wool blend long-sleeve shirt I bought from Diesel. There was a cute “Diesel” embroidery on the sleeve. I bought this at some point in my mid-twenties and by the time I reached 30 I decided the shirt was a little too short (peek-a-boo midriff no longer acceptable). But I really loved the shirt, so I wanted to transform it into something wearable, keeping my favorite part which was the embroidery on the sleeve. On a night out with my friend M, she wore a black skirt and black heels with cute leg warmers. I decided that leg warmers would be the perfect project for this shirt! This was so easy to do. I simply cut the sleeves off and hemmed them with the zig-zag stitch on the sewing machine, leaving a small opening to thread the elastic in. Then I hand stitched the two ends of the elastic together and finished the hem on the machine. The nice thing about the zig-zag stitch is that you can just cut the fabric on the reverse and it won’t fray. It’s a quick and easy way to hem for those of us that don’t have great sewing skills. And with that, my cute leg warmers were made!

October 11, 2013

Cloth Book Bag

Materials: Iron-on Repair Patch, $1.89

Time: 1.5 hours


This skirt was acquired during our last clothing swap. It was pretty cute, but too big for me. It took a lot of brainstorming, but I finally decided to turn it into a cloth or book-bag. The belt could be used as the straps and the zipper made into a pocket for keys or my cell phone.

I started off by chopping off the bottom. I turned the skirt inside out and sewed the outer fabric together making the bottom of the bag.


Then separately I did the same with the inner linning, leaving a small opening to reverse the bag back to the correct side.


Then I took the bottom part of the skirt and cut it in the shape of a pocket and sewed it together on either side of the zipper.


I reversed the bag and tied the two ends of the belt together to see the result. The bag turned out great, but it was a little flimsy. So I took iron-on repair patches and reinforced the bottom. Now the bag was too stiff to completely reverse the corners, so I stitched the corners perpendicular to the bottom stitching.


After reversing the bag I was absolutely thrilled! The final step was simply to hand stich the opening I left in the lining, and the bag was finished! Great for a quick trip to the store or the library with little B.


October 10, 2013

The Bulging Zipper Issue

Material: Iron-on Repair Patch (2), $1.89 each
Time: 40 minutes


This little white summer jacket by Liz Claiborne was a hand-me down by my grandmother. My grandmother still dresses with such pizazz, even as she approaches her 90th birthday! I’m proud that I can wear some of the items she has given me.
 
I use this little jacket quite a bit; Portland summers are mild so it is just perfect to keep in my purse and have it with me for an unexpected temperature drop. But it had one little problem: the zipper would bulge. This occurs whenever the zipper is too heavy weight for the fabric, or if the fabric shrinks after going through a wash and dry cycle. So I decided to fix the problem once and for all by strengthening the material with iron-on repair patches.
I cut the patch about an inch and a half width-wise and placed the strip as close to the zipper as I could get. The patch did not cover the full length of the zipper, so I made sure it was aligned with the bottom of the jacket, were the bulge was more severe. I turned the iron on high and ironed it flat. I added a second layer of patch material by repeating the same steps to really strengthen the fabric. The result: zipper bulge is gone!


October 8, 2013

Jeans

Materials: Bottle of Clorox $0.89
Time: 40 minutes


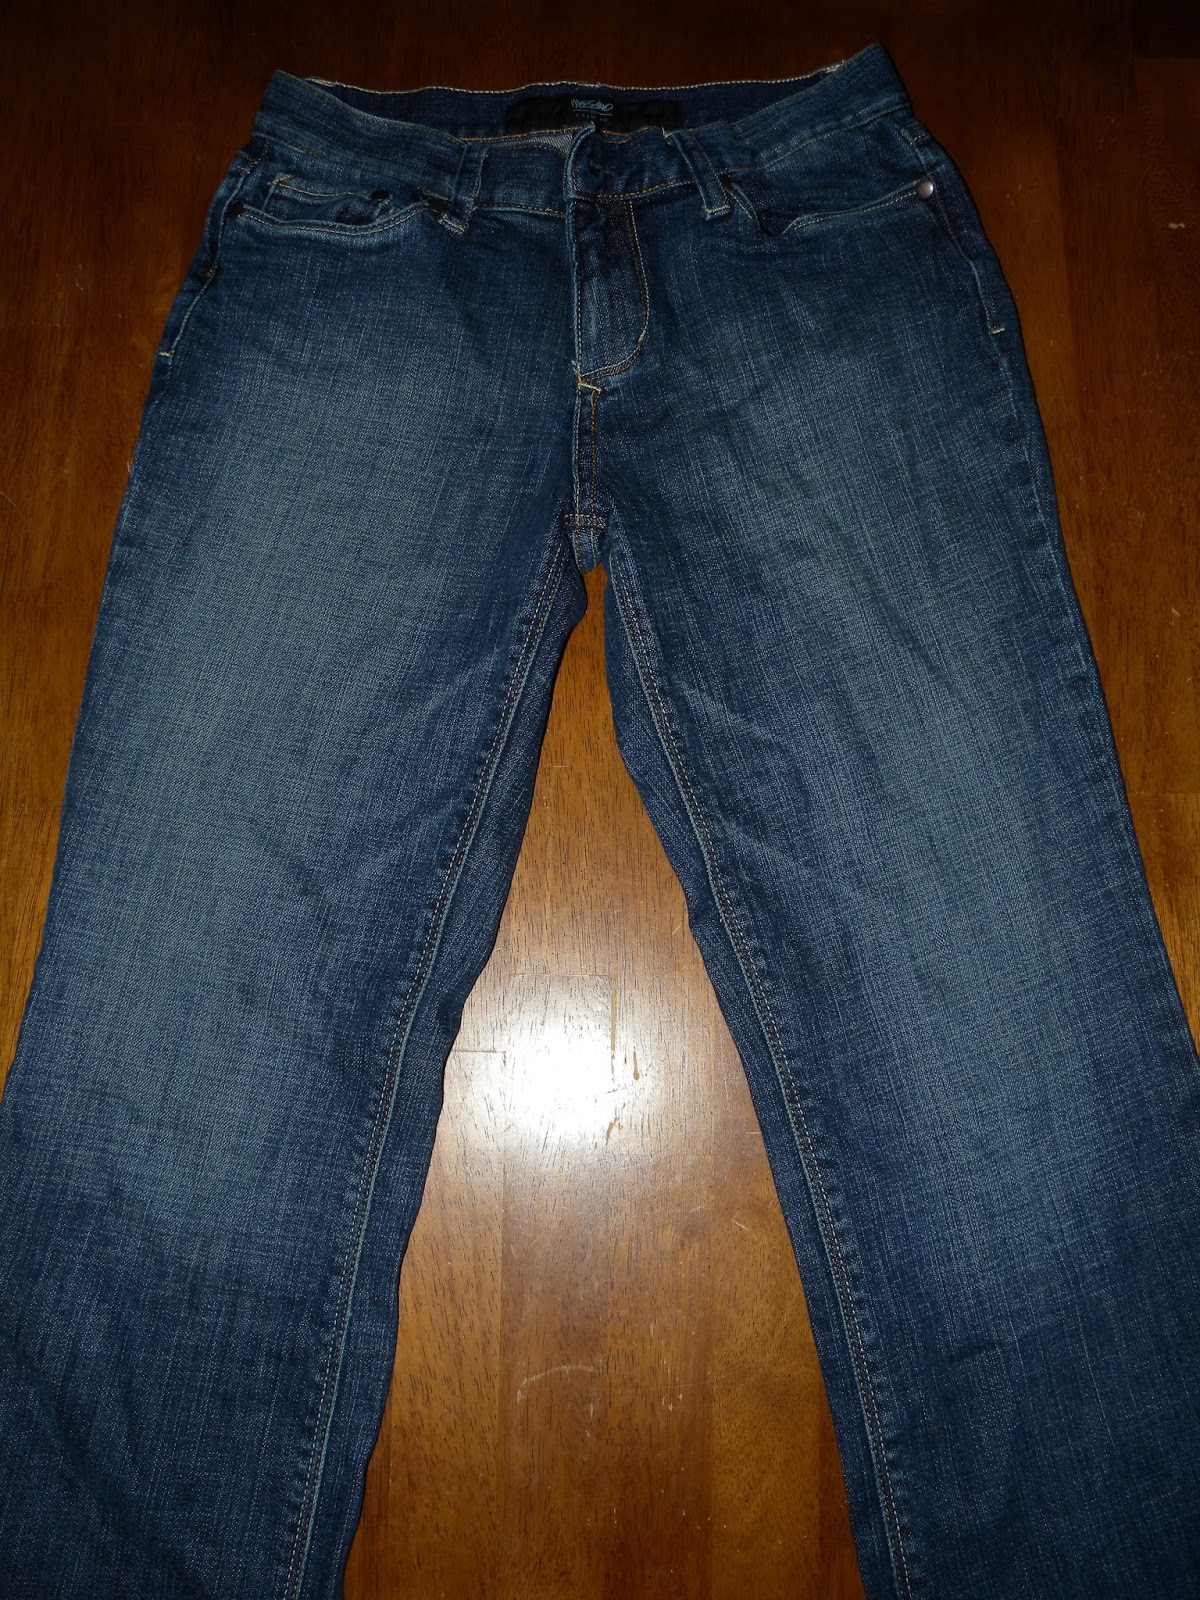
If you have a pair of Jeans that have faded beyond that cool “worn in” look, here is a solution. The secret to this technique is in the folding, but it is still very easy to do.
Start with the bottom of the legs and fold them to your desired “stripe” width. Fold both legs at the same height and try to be as precise as you can. Now fold the other way, same width, on both sides. Fold back-and-forth, back-and-forth, being as precise as you can. When you finish the legs fold the hip section the same distance all across. When you reach the top end, roll the pants and place a rubber band to keep everything in place.


You will need two basins, one smaller one filled with bleach, and the other larger one filled with water. I used a plastic mixing bowl for the bleach and filled the sink with water. Now simply place the pant “roll” in the basin filled with bleach until about half-length or a little less. Allow the bleach to work, about 10-15 minutes. Now place the pants in water, remove the rubber band and unroll. The water will dilute the bleach and stop the process. Make sure the pants are completely submerged. Empty the water and refill the sink 2 more times. Finish by throwing the pants in the washing machine and wash as you would normally.
 
 
 The first pair of pants I tried this with was a cargo canvas pants that oddly enough was very resistant to bleach. The effect was barely noticeable, so the pants were toast. Next I tried using denim which I knew would work, and indeed the result was very dramatic! Love my new pants J